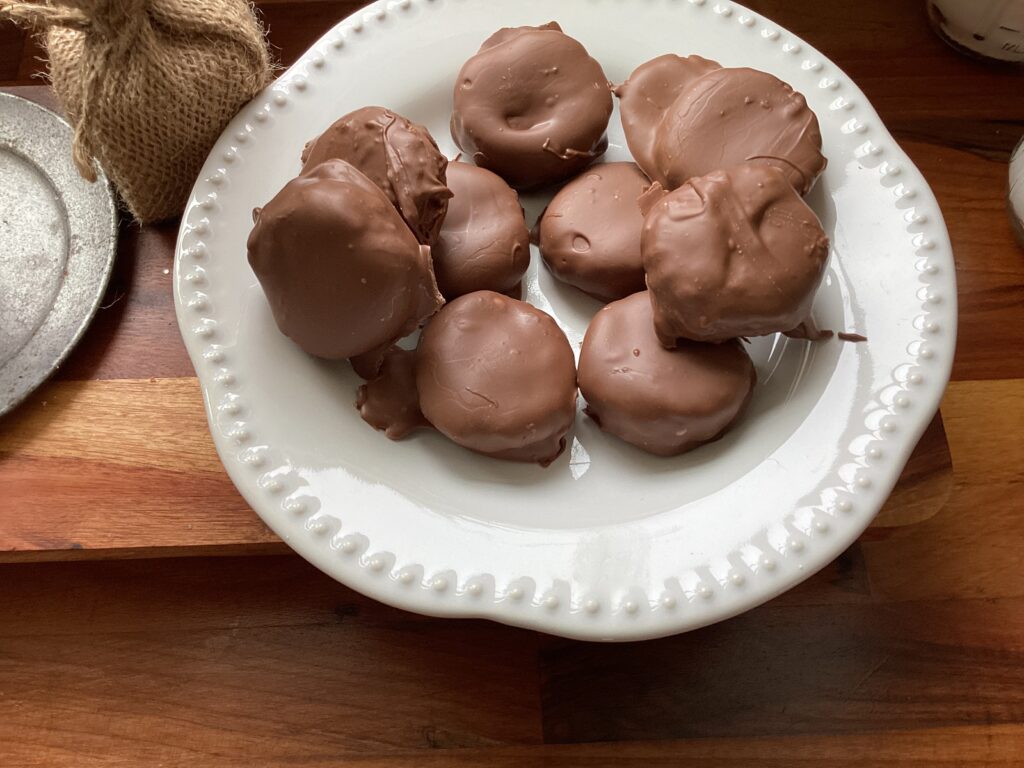
These Homemade Reece’s Peanut Butter Cups are rich and creamy. They are filled with flavor and tastes just like a Reece’s Peanut Butter Cup from the store. This recipe is very easy to make and perfect for packing in lunches or for a quick and easy dessert. They store great in the fridge and freezer.
Why You’ll Love This Recipe
This recipe comes together quickly and is great for gifting. It is simple to make with its classic ingredients. The recipe can also be used to make Peanut Butter Balls. Using the same process just rolls into a ball shape shape and proceed with the process. These are always a favorite for friends and family as a gift at Christmas.
Delicious Apple Butter Bread Perfect for Thanksgiving and Christmas
Fast and Easy Creamy Tuscan Chicken with Penne Pasta Recipe
Ingredients
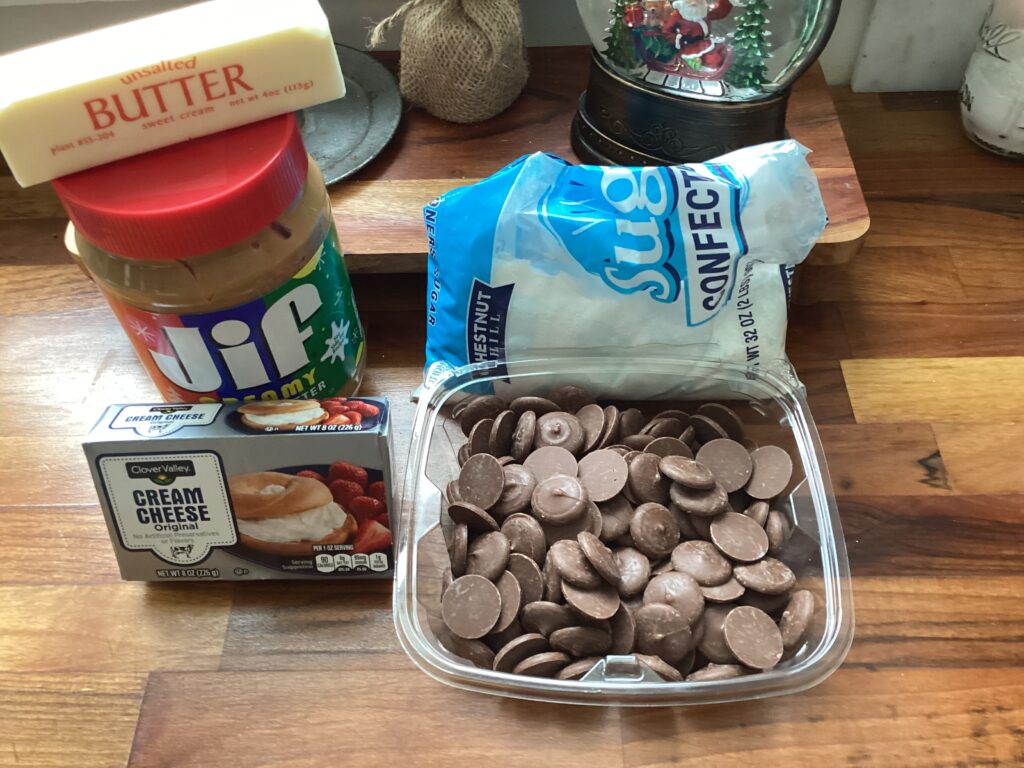
Peanut Butter- I prefer to use creamy Peanut Butter, but you can use any type of your preference.
Cream Cheese- softened to room temperature. This extra ingredient helps to make these homemade Peanut Butter cups extra delicious!
A full ingredient list with exact amounts can be found in the recipe card below
Homemade Peanut Butter Cups
Equipment
- Stand mixer or large mixing bowl
- Rolling Pin
- Wax or Parchment paper If you don't have either of these, aluminum foil will work just fine
- Large sheet pan
- Small round biscuit or cookie cuter I have the Pioneer Woman's set of biscuit cutters and the smallest one in the set works great.
Ingredients
- 3 1/2 cups powdered sugar
- 1 1/2 cup peanut butter creamy
- 4 oz cream cheese softened to room temperature
- 1/2 cup butter softened to room temperature
- 1 tsp vanilla extract
- 1/4 tsp salt
- 1 pound melting chocolate Alpine milk wafers work great
Instructions
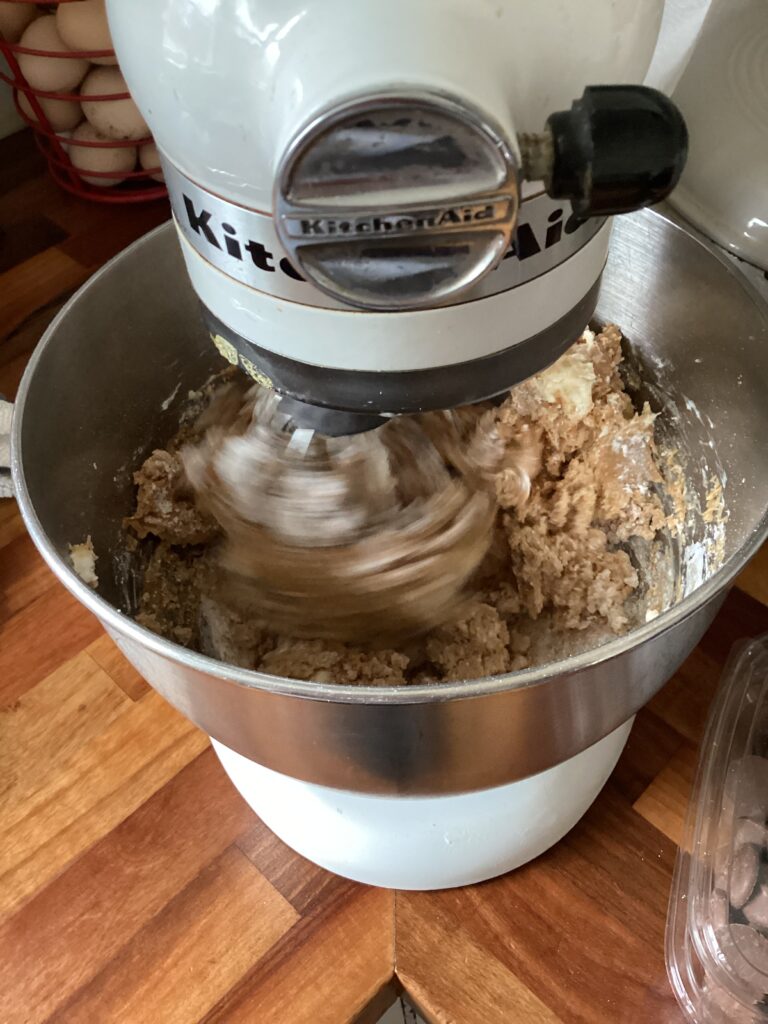
- Mix together ingredients by hand or in a stand mixer until blended.
- Place in freezer for approximately 15 minutes, or until firm. This step ensures that the mixture will roll out smoothly.
- Place on wax paper that has been dusted with powdered sugar and roll out to desired thickness with a rolling pin.
- Use cutter to cut out peanut butter cups and place on a cookie sheet lined with wax paper. Place in freezer until firm or froze. This will make it easier to handle when dipping into the melted chocolate.
- Dip into melted chocolate and place back on wax paper, return to freezer until hardened. These will keep well stored in a container in the Fridge or Freezer
Instructions
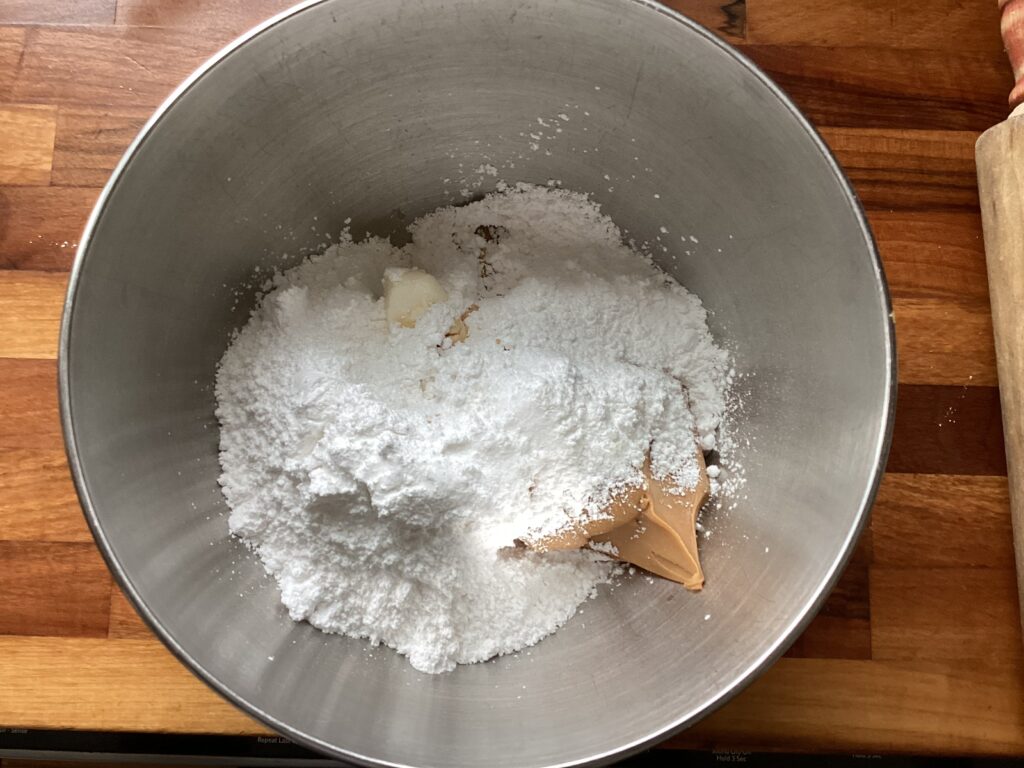
STEP 1: Mix together ingredients with hands or in a stand mixer.
STEP 2: Place in fridge or freezer for approximately 20 minutes, or until firm.
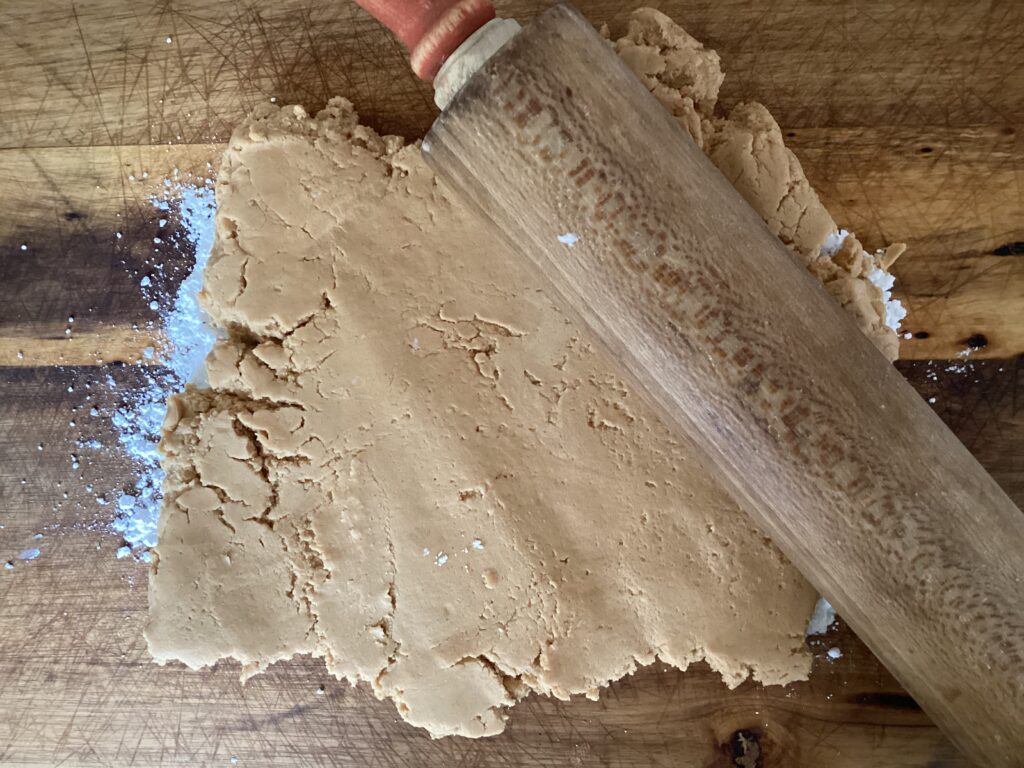
STEP 3: Roll onto a piece of wax paper that has been dusted with powdered sugar to desired thickness.
STEP 4: Cut them into a Reese’s Cup shape with a small round biscuit or cookie cutter.
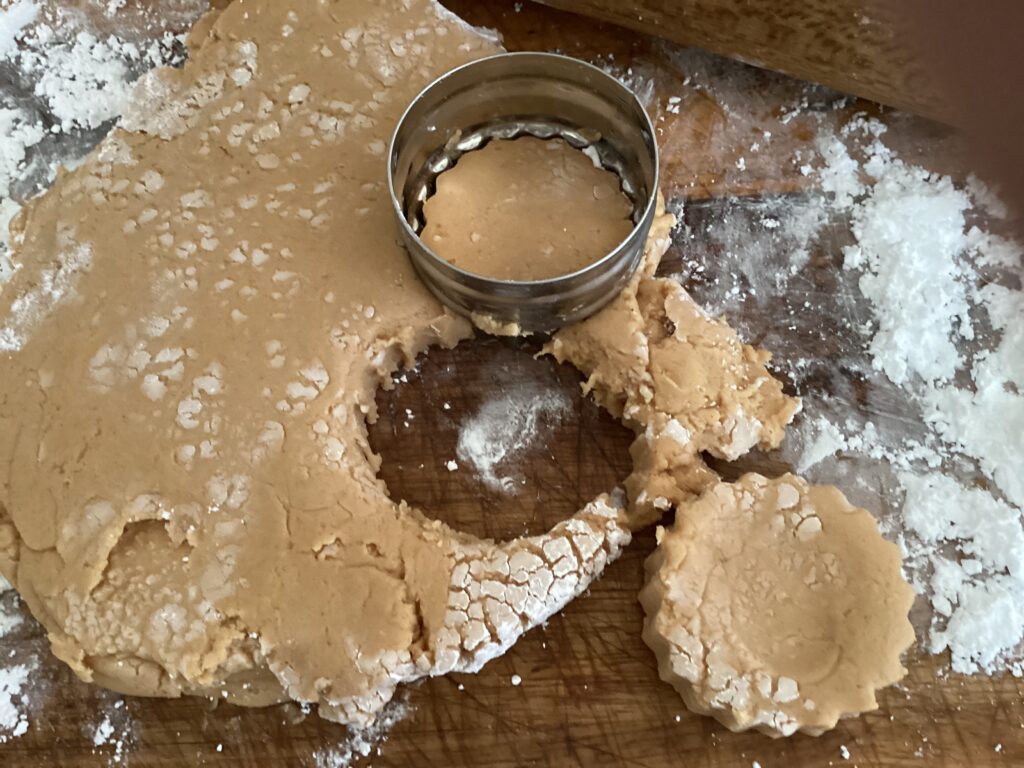
STEP 5: Place on a sheet pan lined with wax paper.
STEP 6: Place back into freezer until firm or frozen – This will make the dipping process a lot easier and make for a smoother product.
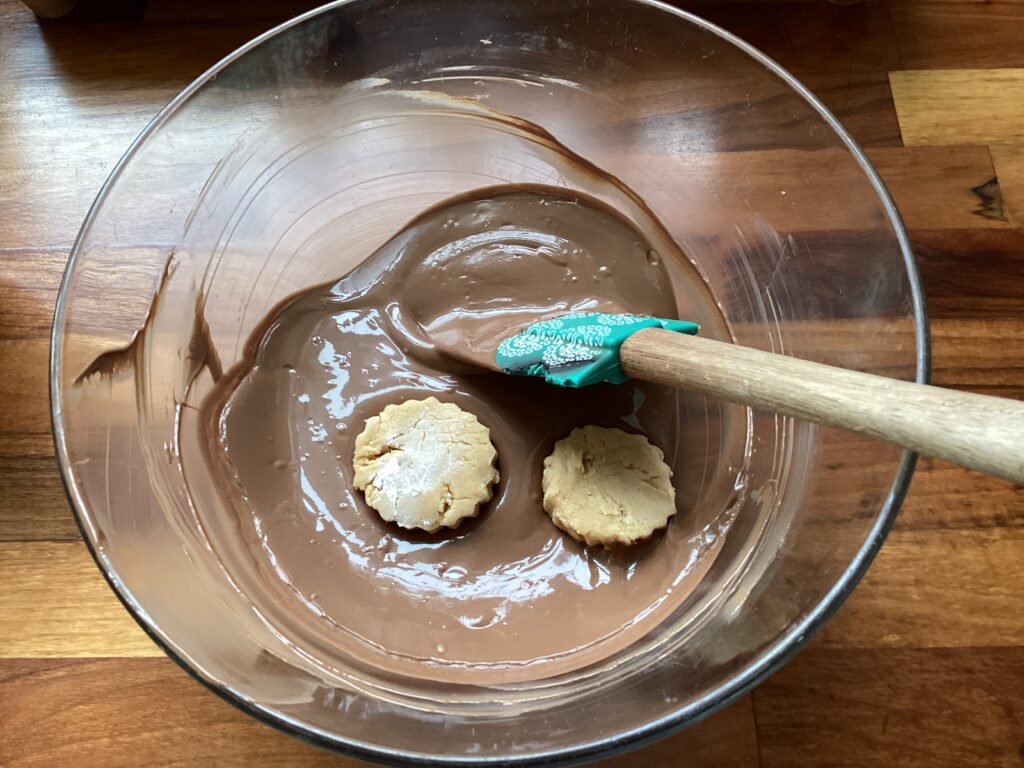
STEP 7: Dip into melted chocolate of your choice. Let harden before placing into a container for storage. These store well in the fridge and freezer.
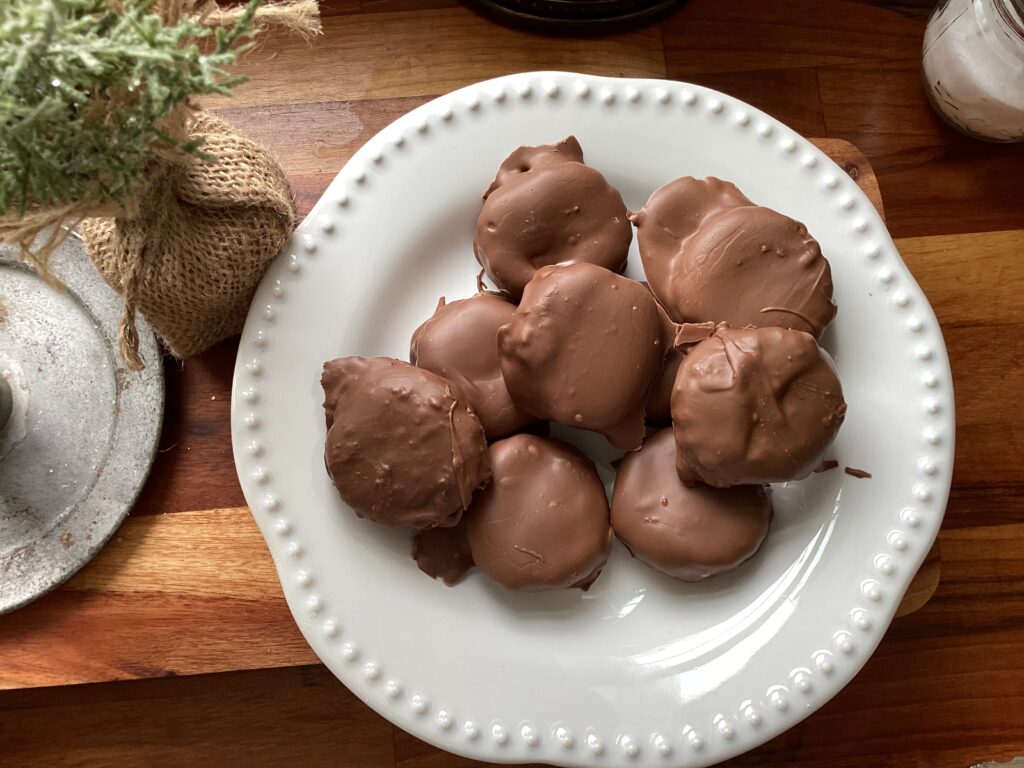
NOTE: I find the milk chocolate wafers do best if you have them in your area, I purchase mine from a local Mennonite store. I place them into a glass bowl and put them in the microwave for about 2-3 minutes stirring every 40-50 seconds until blended and smooth. DO NOT OVERHEAT THEM OR IT WILL RUIN THE CHOCOLATE!

Leave a Reply